
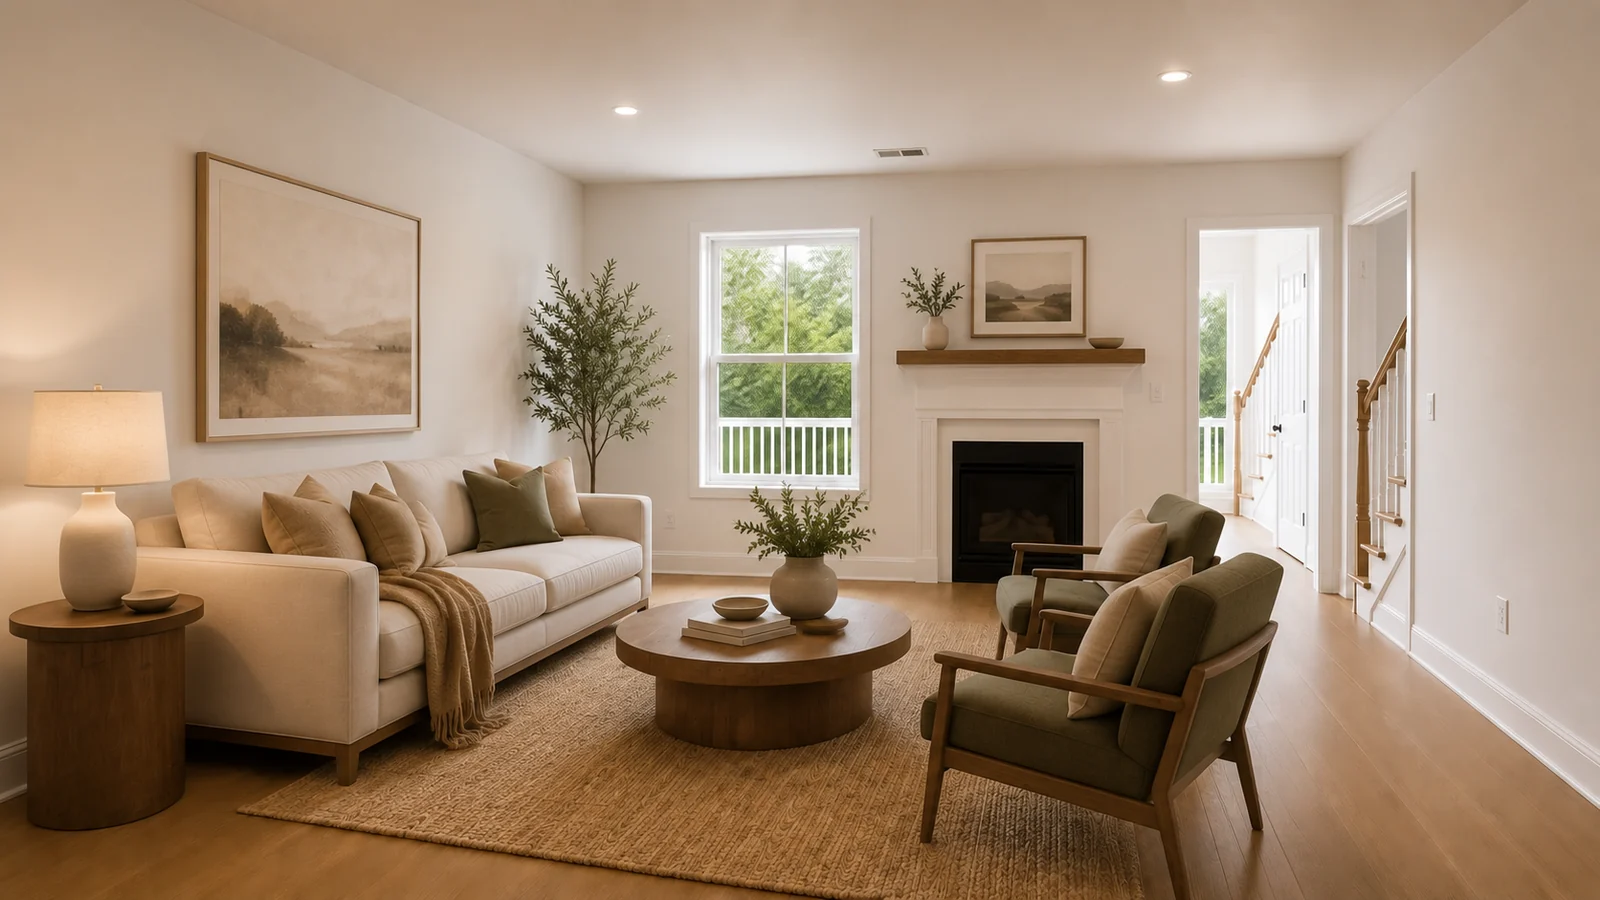
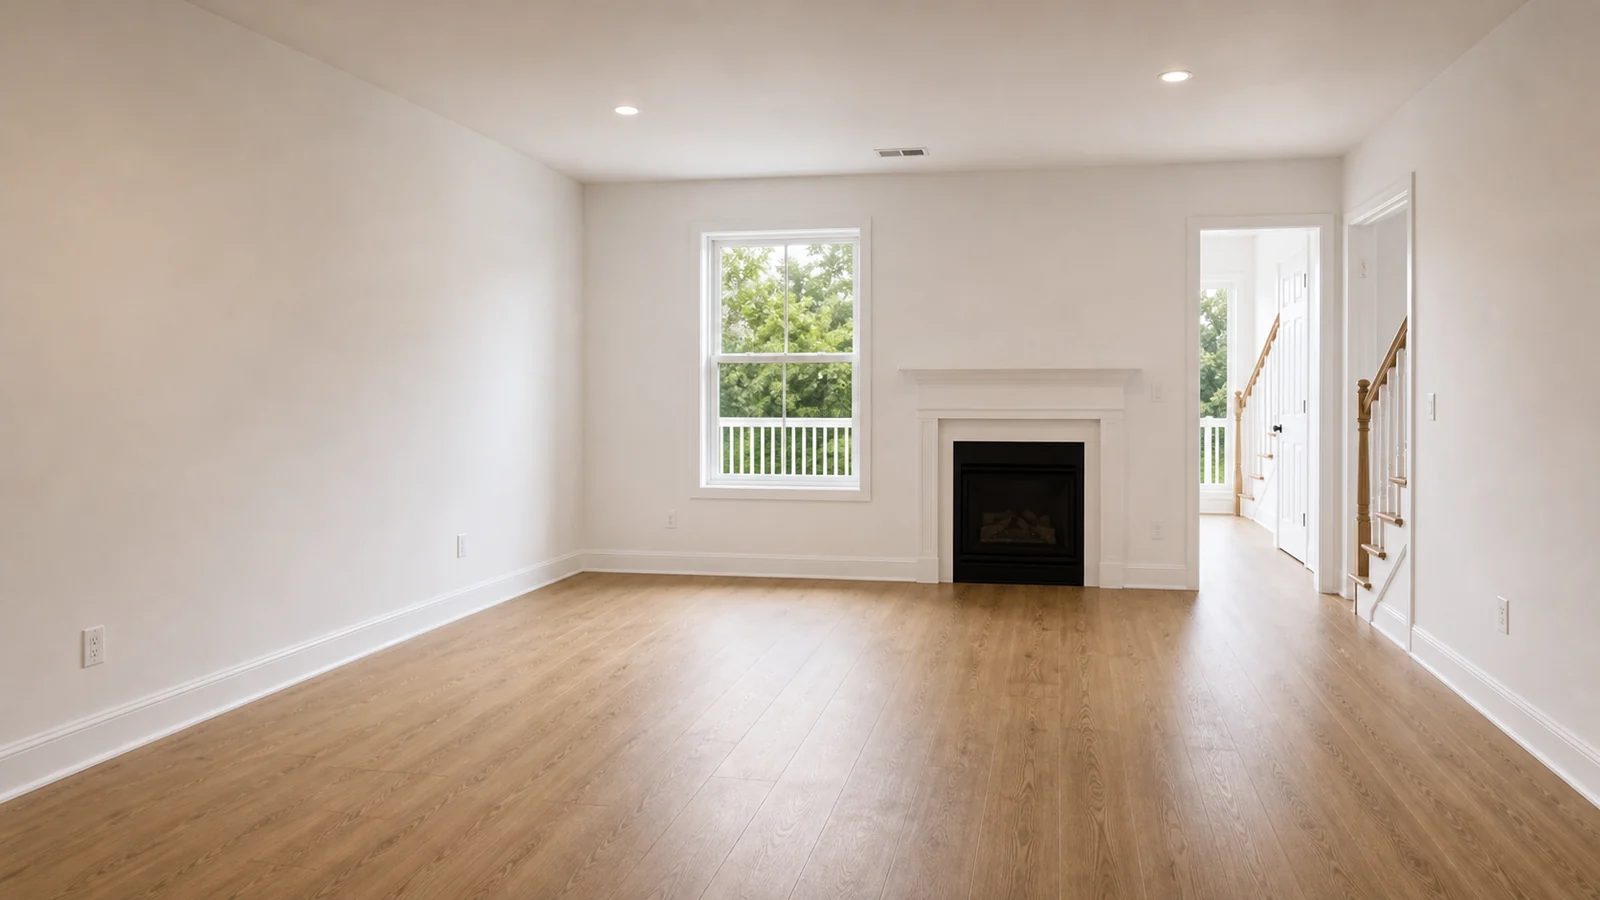
BeforeAfter
Living Room Material Refresh
Compare a plain room photo with a warmer palette, softer seating, and a clearer focal point.
Choose your cookie settings
We use necessary cookies for sign-in, security, and features you choose. Analytics, marketing services, and proactive third-party sign-in prompts that use browser identifiers load only after you consent; authentication services may load immediately when you choose to sign in. View the Cookie Policy
AI Interior Design Preview


Try sample images
Need a quick start? Choose a sample image below to explore the tool.
Living Room

Bedroom

Kitchen

Upload a room photo, sketch, render, or reference image. Choose a room type and style, then describe the materials, lighting, furniture, and existing elements you want to keep. Generate several concepts to compare for early design review—not for measured plans, specifications, or construction decisions.
See how a simple room photo can become polished AI interior design before and after examples with clearer materials, lighting, furniture direction, and client-ready concept options.
Compare a plain room photo with a warmer palette, softer seating, and a clearer focal point.
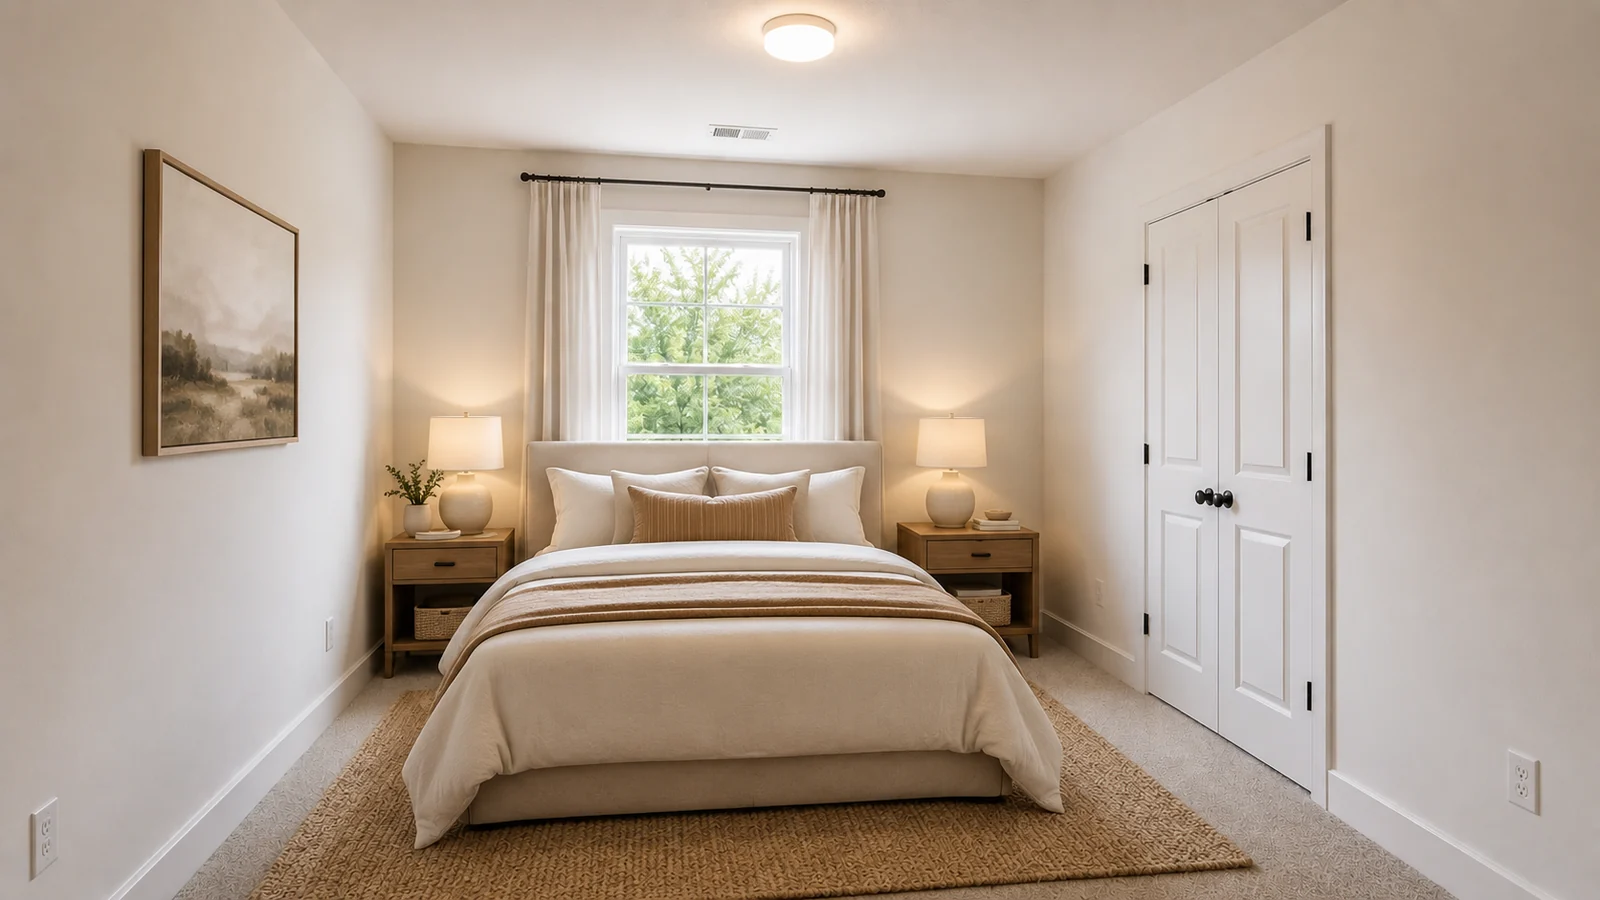
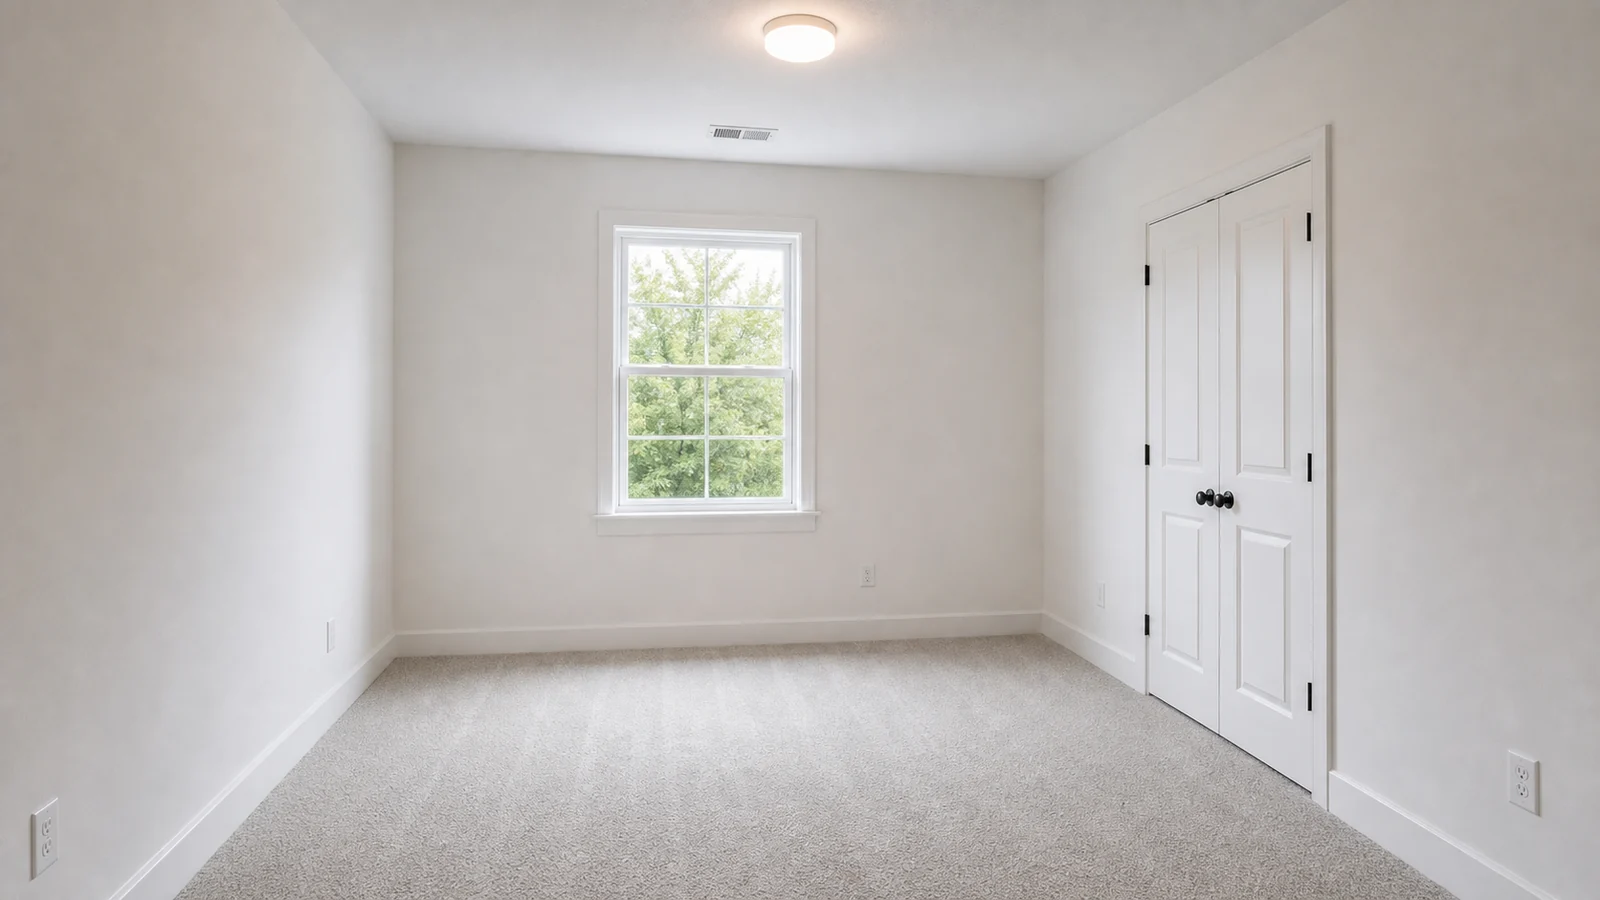
See how lighting, textiles, and furniture placement create a calmer bedroom direction.
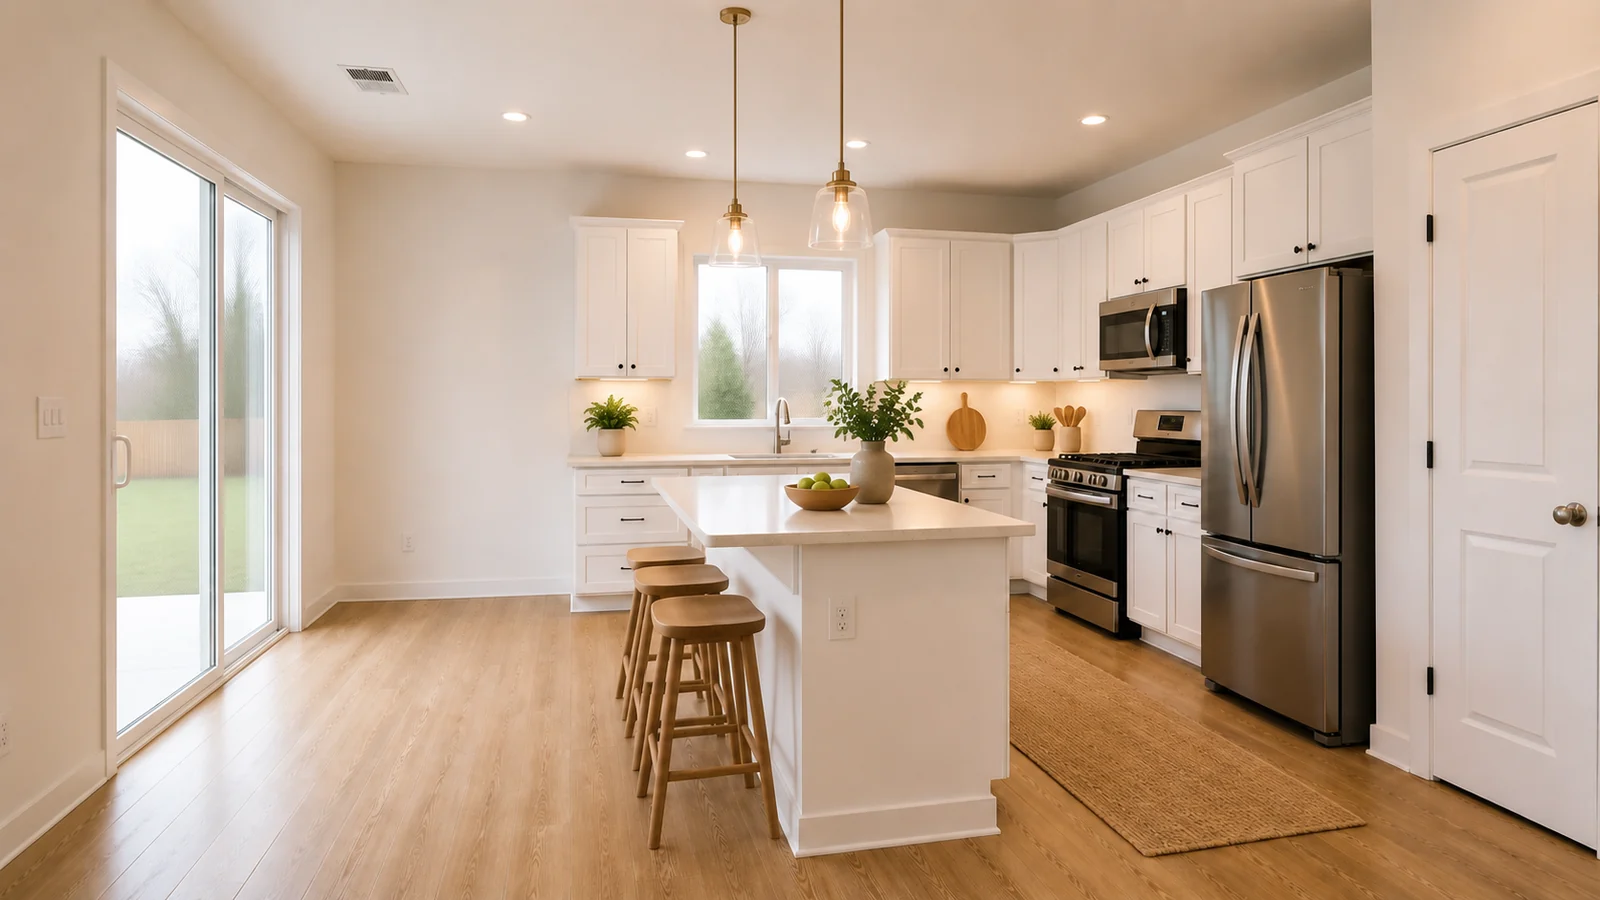
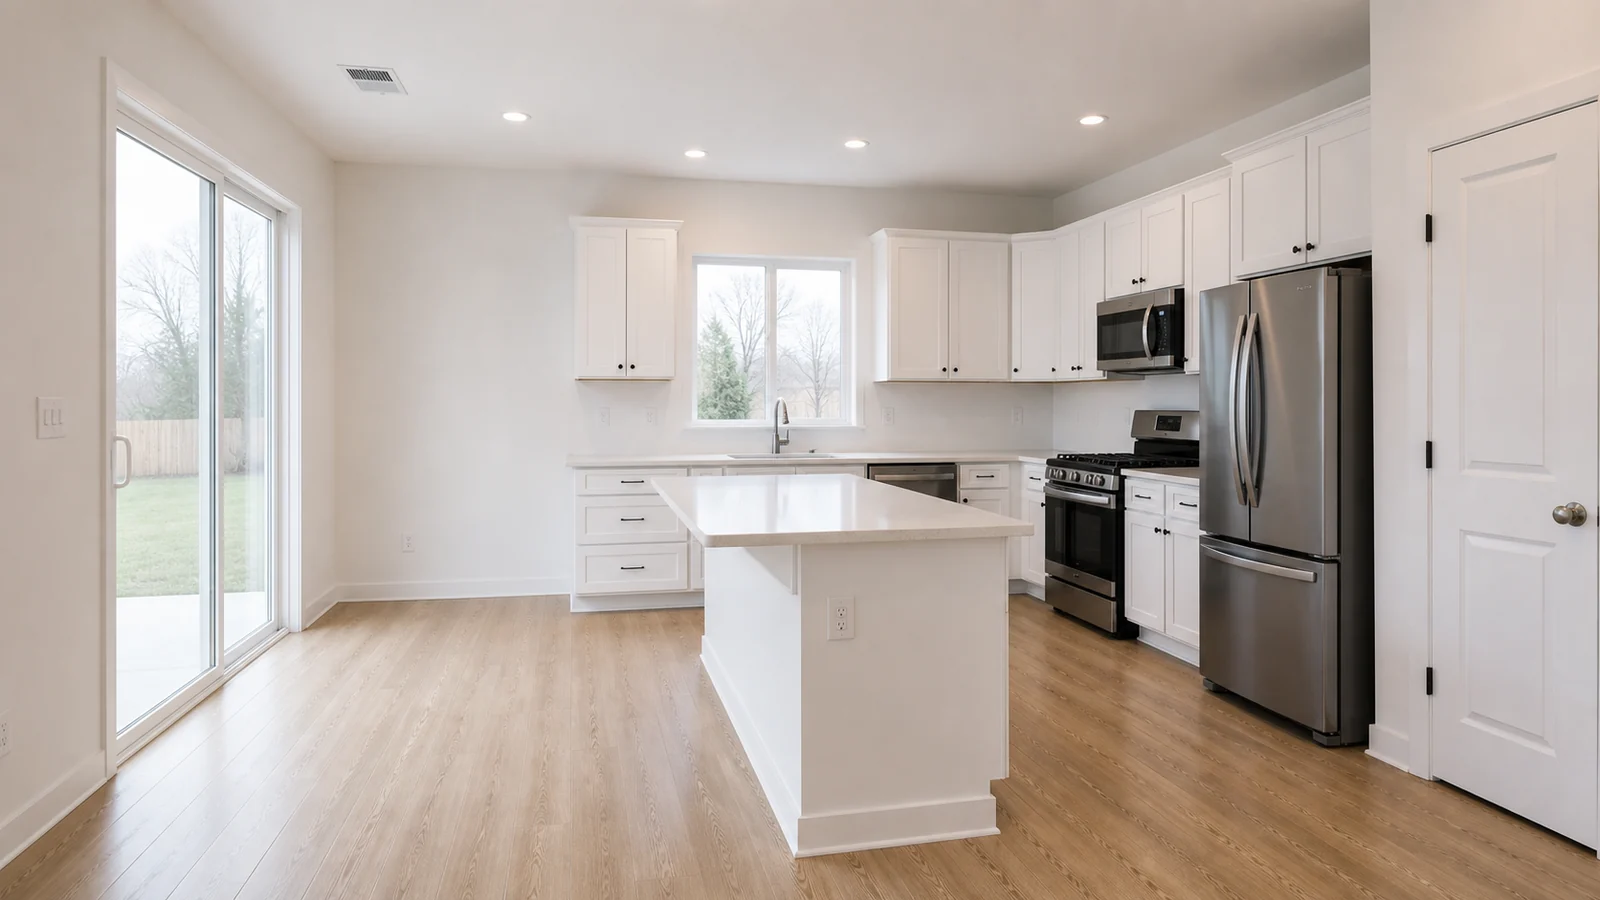
Preview cabinet tone, counter surfaces, lighting, and dining flow before committing to a style.
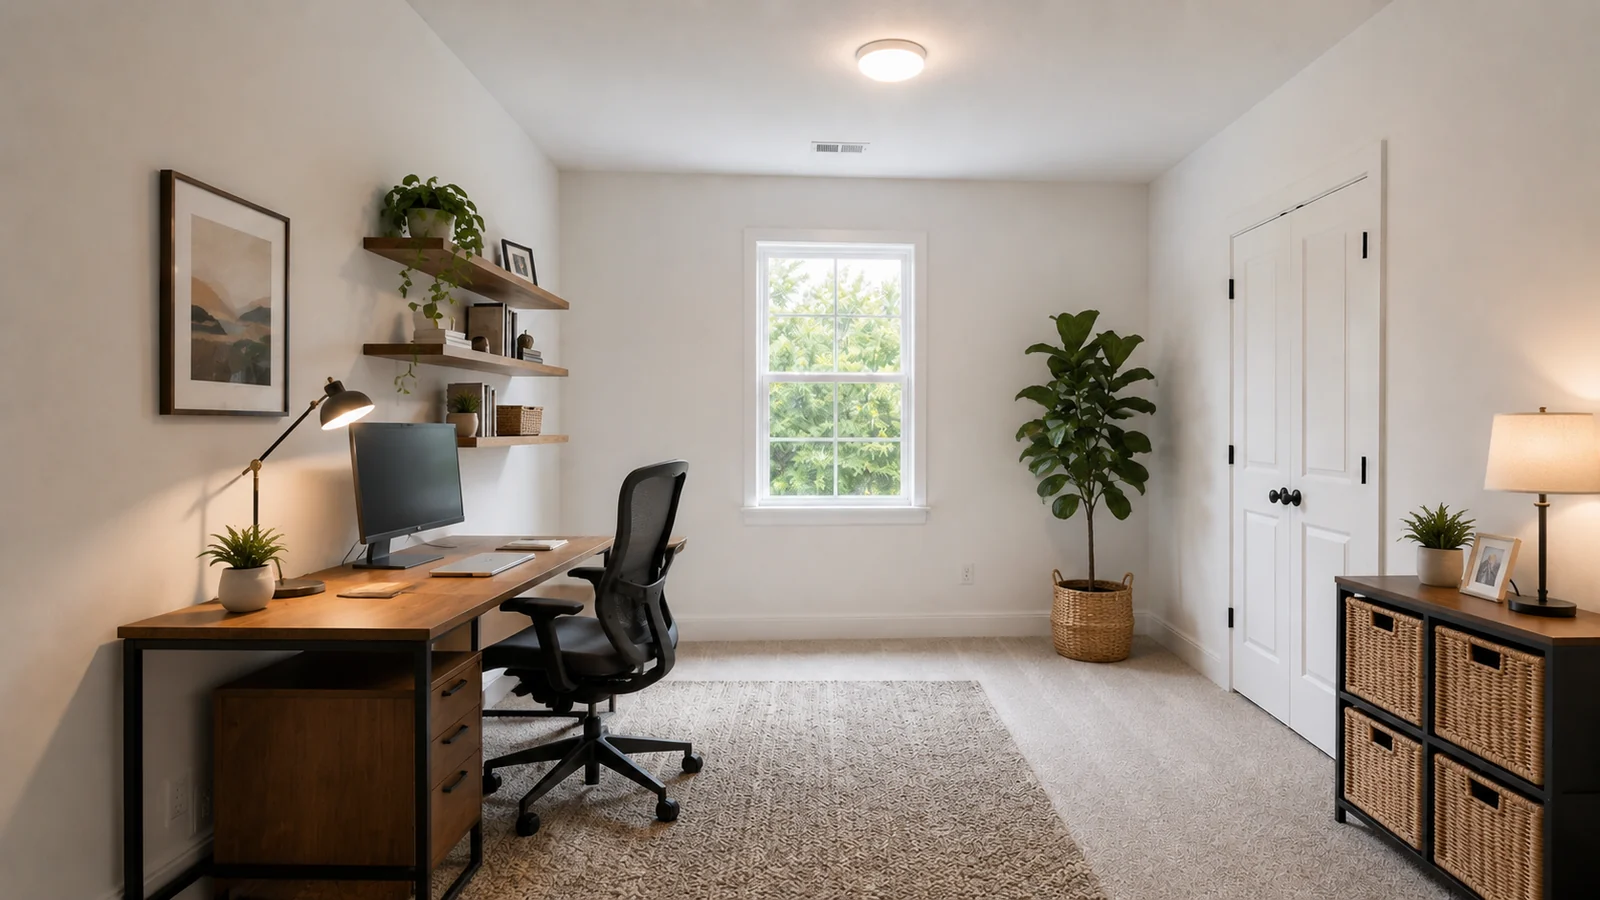
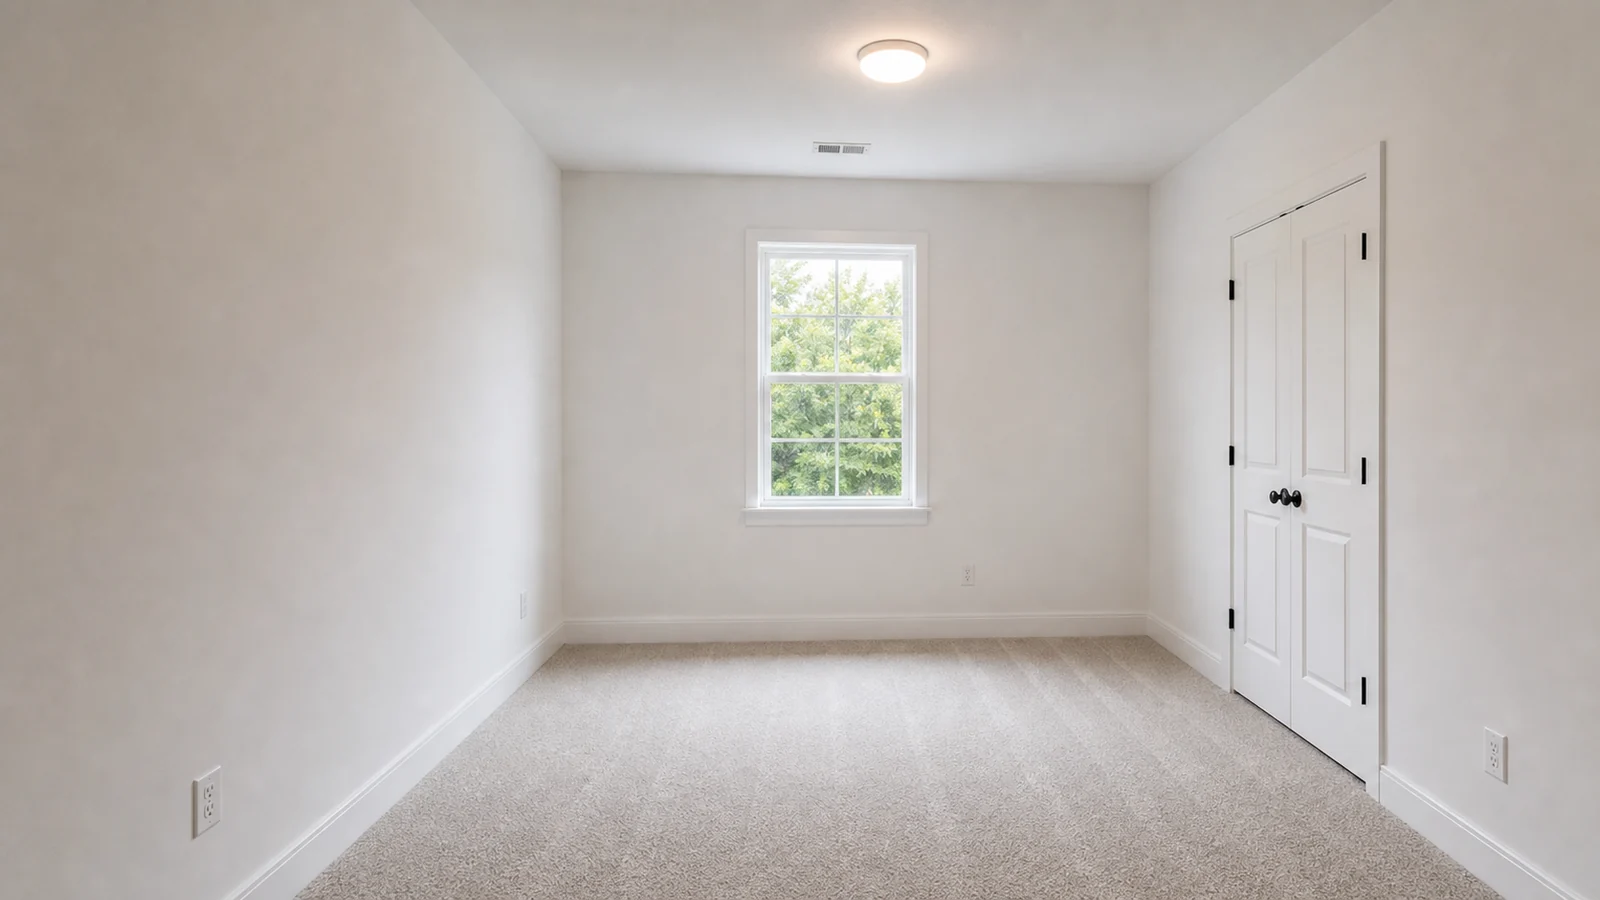
Turn a small spare room into a cleaner work zone with storage, desk placement, and warmer styling.
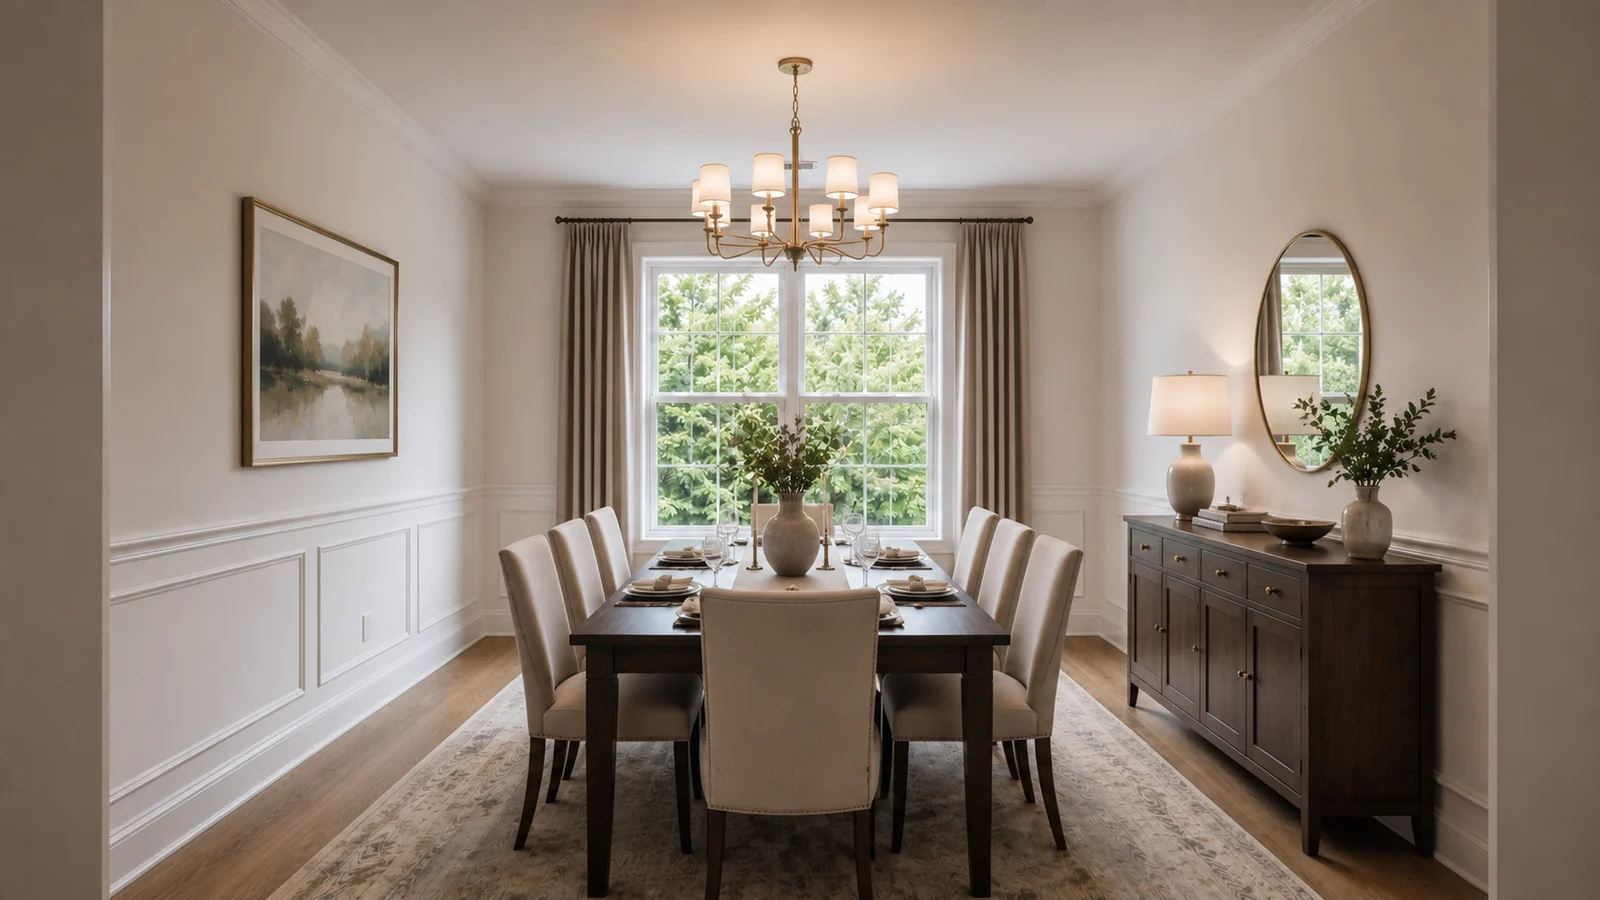
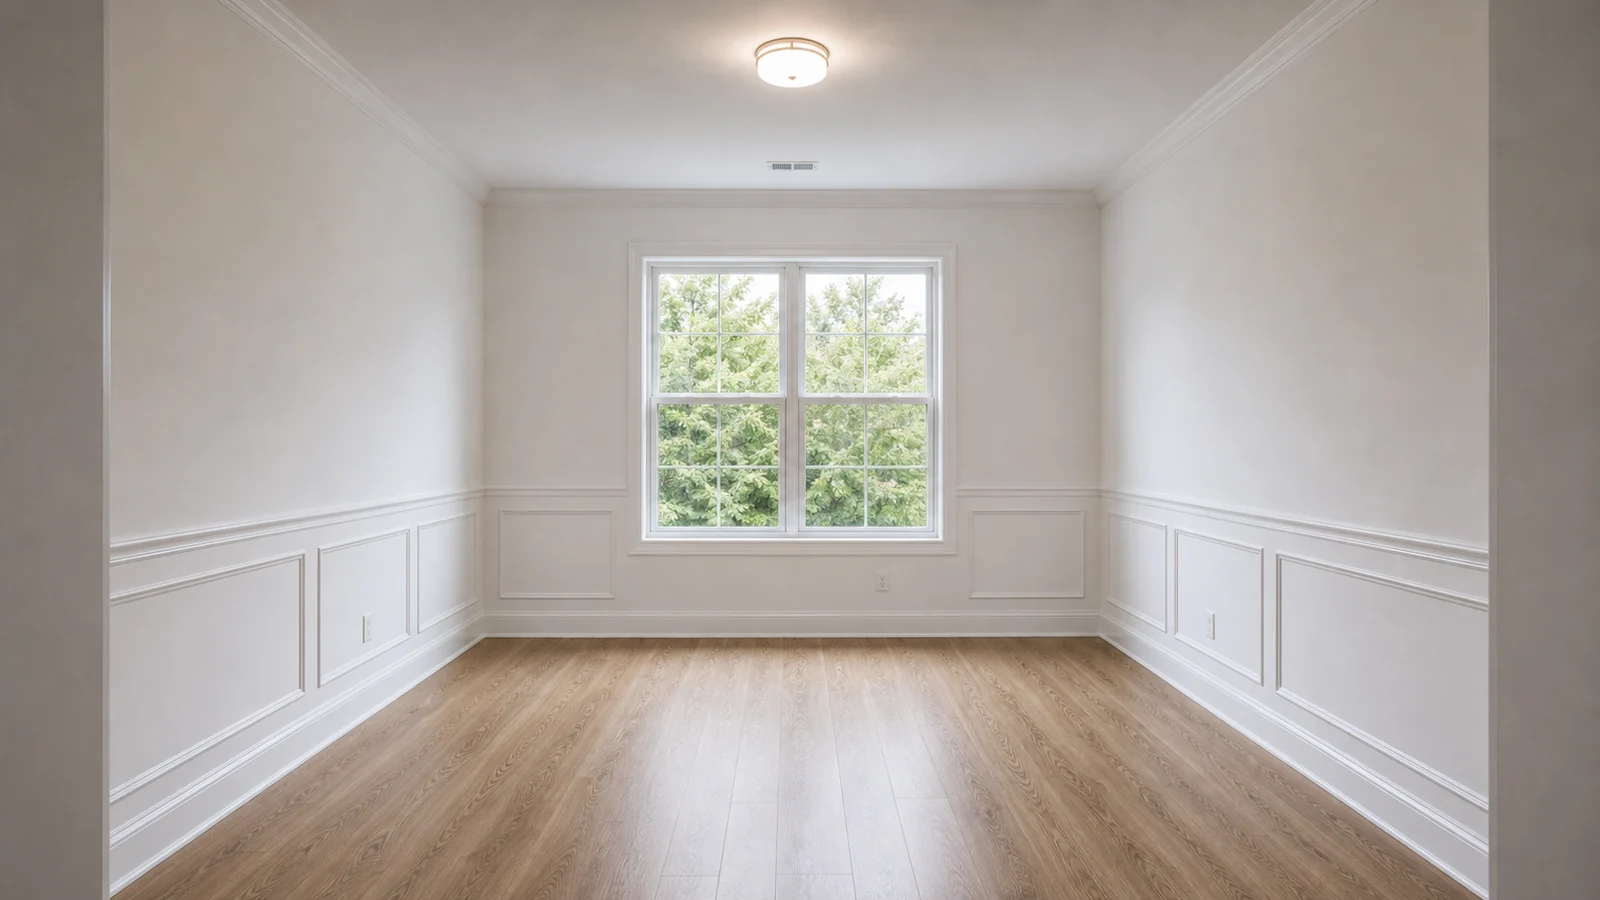
Use before and after views to compare furniture density, lighting, and presentation-ready options.
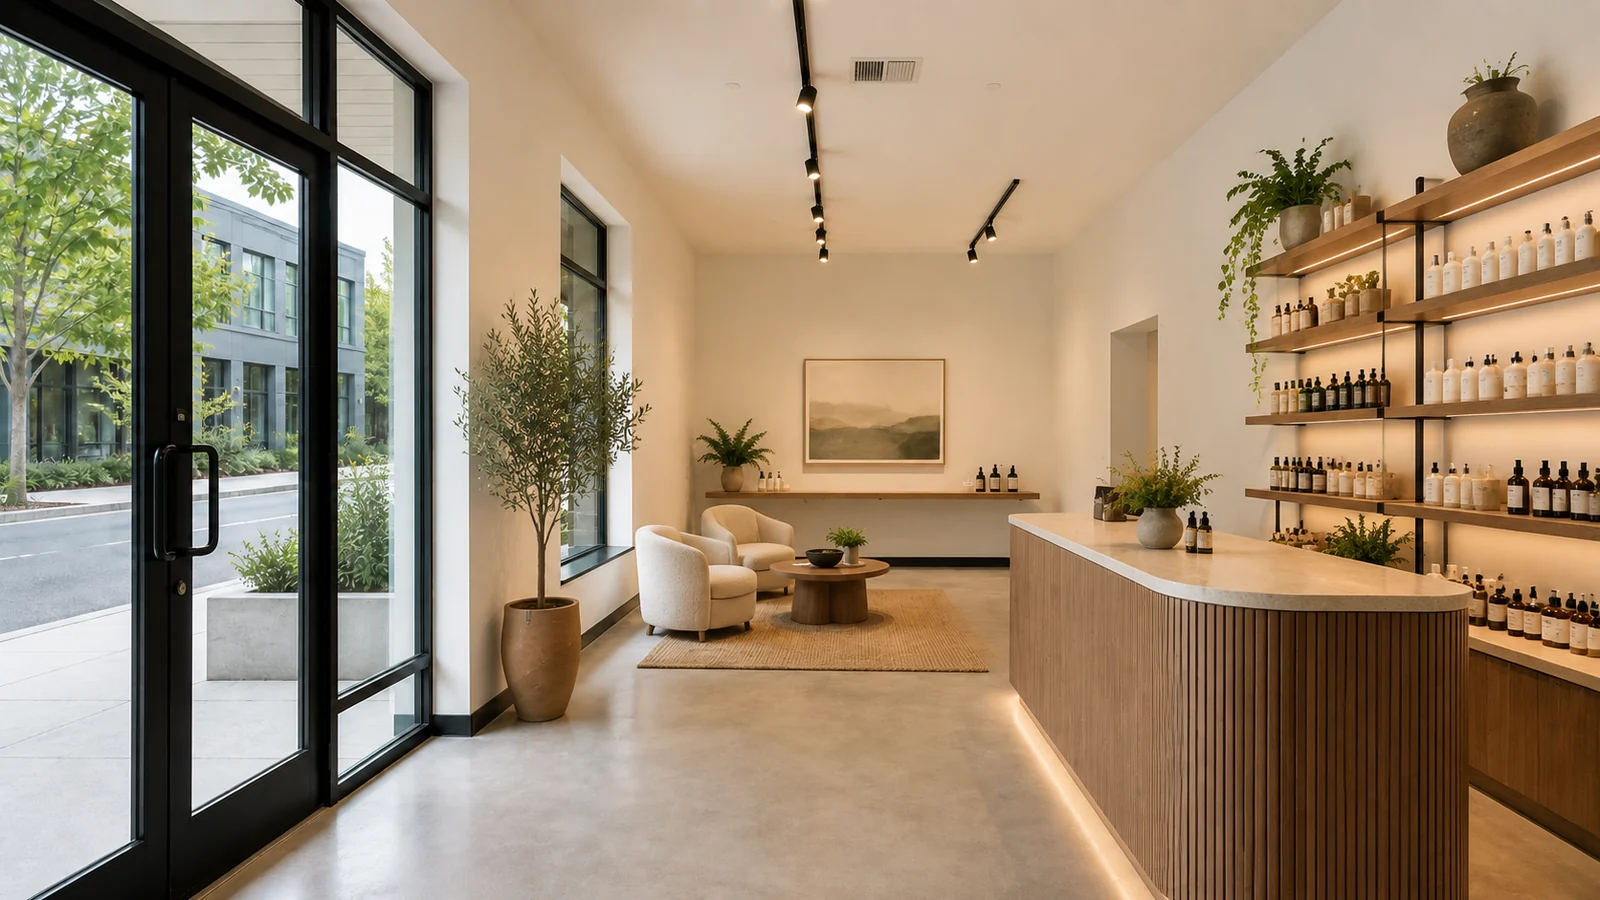
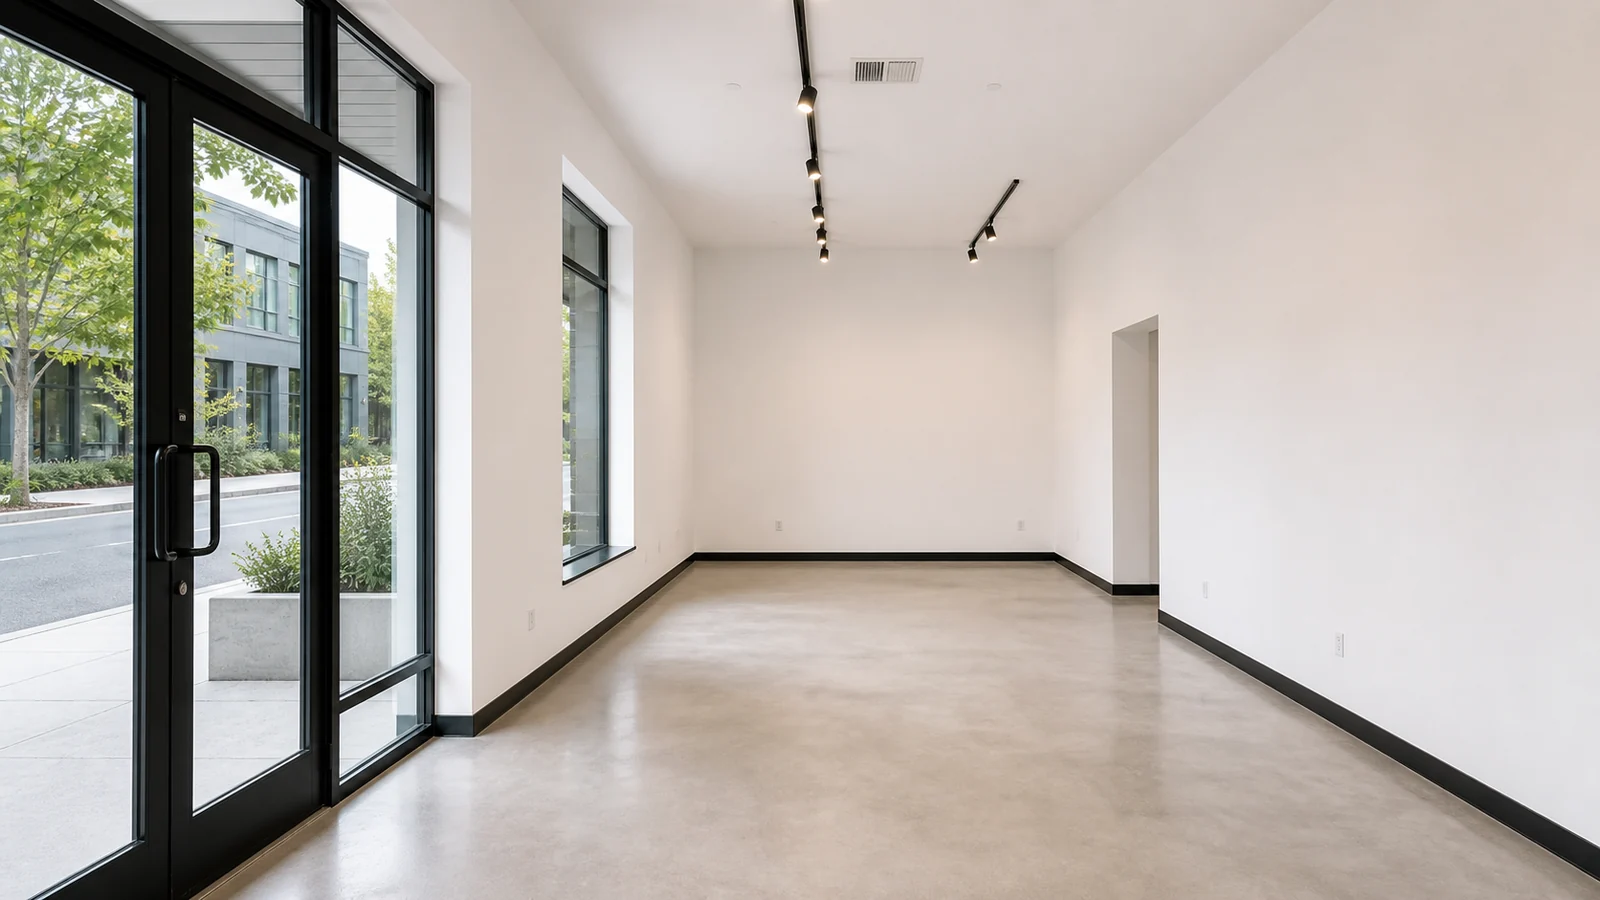
Explore a hospitality-style concept with seating, lighting, and finishes for faster concept alignment.
Start with a project image. Set the design direction, explain what should stay, then compare visual options for review.
Step 01
Upload a room photo, sketch, render, or reference image that shows the space or design direction you want to explore.
Step 02
Choose the room type and style. Add notes about materials, lighting, furniture, color, and mood.
Step 03
List any walls, windows, doors, openings, flooring, fixed furniture, or layout elements that should remain.
Step 04
Create several visual directions from the same brief. Compare them before choosing an option for client review or further design work.
Use project images, style controls, references, and preservation notes to guide early interior concepts. If you are still choosing between photo restyling, editable 2D/3D planning, focused edits, and a connected concept workspace, compare AI interior design apps by workflow. If furniture fit, circulation, or fixed openings are still unresolved, learn how to plan the room layout before choosing a style. If the room requirements are clear but hard to phrase, use our ChatGPT interior design workflow to organize the brief. If the design direction is settled but the framing is not, explore another viewpoint from an existing render. When you have an accurate 3D model and need live review or controlled final output, compare the best interior rendering software for designers.

Start with a real room photo and explore new materials, lighting, furniture, and style directions.
Useful when a design idea needs to stay connected to the existing room.
Try a room photo
Turn rough sketches, screenshots, or early renders into clearer room concepts before investing time in detailed modeling or final visualization.
Useful when an idea is still rough but needs a clearer visual direction.
Use a sketch or render
Compare modern, minimalist, Japandi, Scandinavian, warm neutral, industrial, Mediterranean, and other available styles.
Useful when you need to test several looks before locking in one style.
Compare styles
Add furniture, lighting, material, decor, or mood images to guide shape, finish, color, and atmosphere.
Useful when a project has a must-use object, material cue, or mood reference.
Add references
Use notes to tell ArchOne AI which walls, windows, openings, flooring, fixed furniture, and layout elements should remain.
Generated concepts may still alter details. Review every result against the original room and real measurements.
Set room constraintsBrowse room-specific ideas for layouts, storage, colors, materials, and lighting before testing new concepts from your own photo. Planning a living room? Start with the living room decorating guide. For a kitchen, use the step-by-step kitchen planning guide before generating concepts.

Cabinets, counters, lighting, islands, and dining flow.

Tables, rugs, lighting, wall decor, storage, and hosting flow.

Vanities, showers, tile, mirrors, lighting, and storage.

Bed walls, lighting, storage, textiles, and calm palettes.

Seating layouts, media walls, rugs, lighting, and color.

Desks, built-ins, shelves, lighting, and focused zones.

Washer layouts, folding counters, tile, cabinets, and storage.

Benches, mirrors, hooks, shoe storage, and lighting.

Benches, lockers, hooks, shoe drawers, tile, and color.
Move between floor planning, exterior studies, landscape ideas, and camera-angle exploration in one ArchOne AI workflow. Planning to repaint after comparing concepts? Estimate paint for your walls.
ArchOne AI Studio
Keep room references, material studies, lighting options, and revisions together when the project moves beyond one generated image.
 One connected workspace
Create early 2D or 3D-style floor plan concepts from property type, area, rooms, and layout notes.

Explore facade updates, exterior materials, color palettes, entry details, and curb appeal directions.

Create outdoor concepts for planting, hardscape, patios, gardens, paths, lighting, and site review.

Generate new camera-angle studies from one render or space image for early review and shot planning.
Still stuck? Contact us.
Upload a room photo, sketch, render, or reference image. Choose the room type and style, then add notes about materials, lighting, furniture, mood, and anything that should stay unchanged.
Keep the same room image and project brief. Change one main direction at a time, such as finishes, colors, lighting, or furniture, then compare the generated options side by side.
List the walls, windows, doors, openings, flooring, fixed furniture, or layout elements that should remain. Generated concepts may still alter details, so check each result against the original room.
Start with the project image and define what can change and what should stay. Generate several visual directions, compare them, and select the clearest options for client review. Verify measurements, product choices, and technical details separately.
Look for support for real project images, clear material and style controls, reference images, preservation notes, and several comparable results. ArchOne AI is a suitable option for early visual directions and client review. Use CAD, BIM, specification, or procurement tools when you need measured or technical deliverables.
Yes. ArchOne AI includes free credits so you can try AI interior design after signing in. Generating images uses credits. Paid plans and credit packs are available when you need more results.
Yes. Sign in is required before generation so ArchOne AI can connect free credits, generated results, and saved workspace items to your account.
Uploaded room photos are used to create the concepts you request and may be saved with your results in your workspace. Avoid images with private documents, faces, addresses, or other sensitive details.
Yes. Add furniture, lighting, material, decor, or mood references to guide shape, finish, color, and atmosphere. Treat the result as a visual direction, not a product or material specification.
Yes. Resolve priority activities, furniture fit, circulation, door swings, and fixed openings first. Our space planning guide explains how to test those decisions. Then use ArchOne AI to compare materials, lighting, furniture, color, and mood.
No. AI can speed up visual exploration and option comparison. Designers still guide function, measurements, sourcing, safety, code review, and final decisions.
Last updated: September 15, 2026

Upload a photo, compare fresh interior styles, and visualize your next space before making design decisions with ArchOne AI.